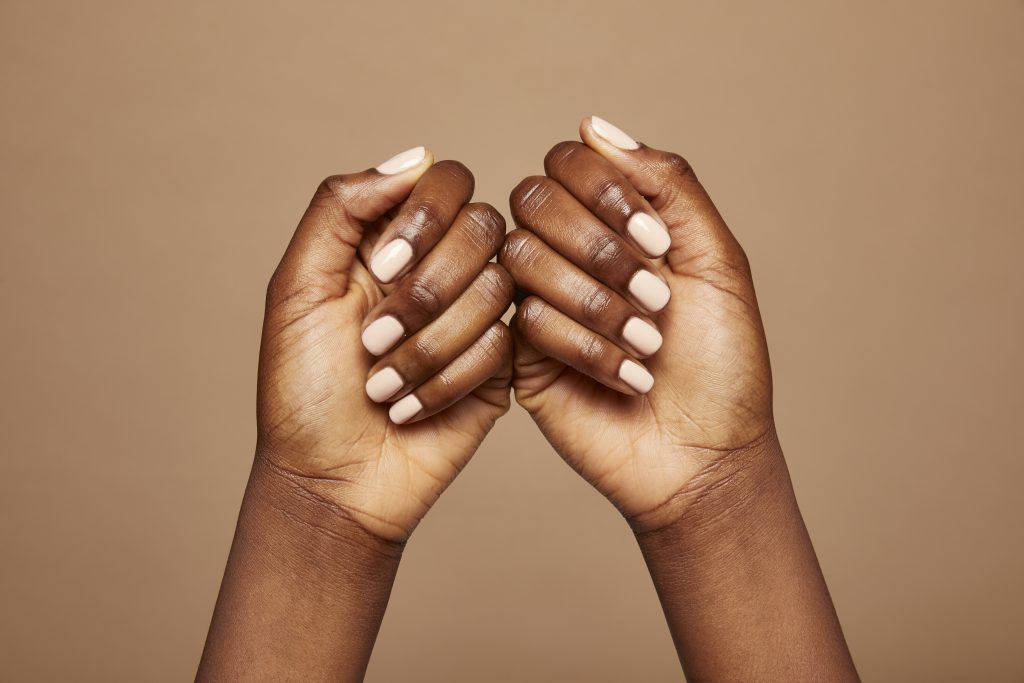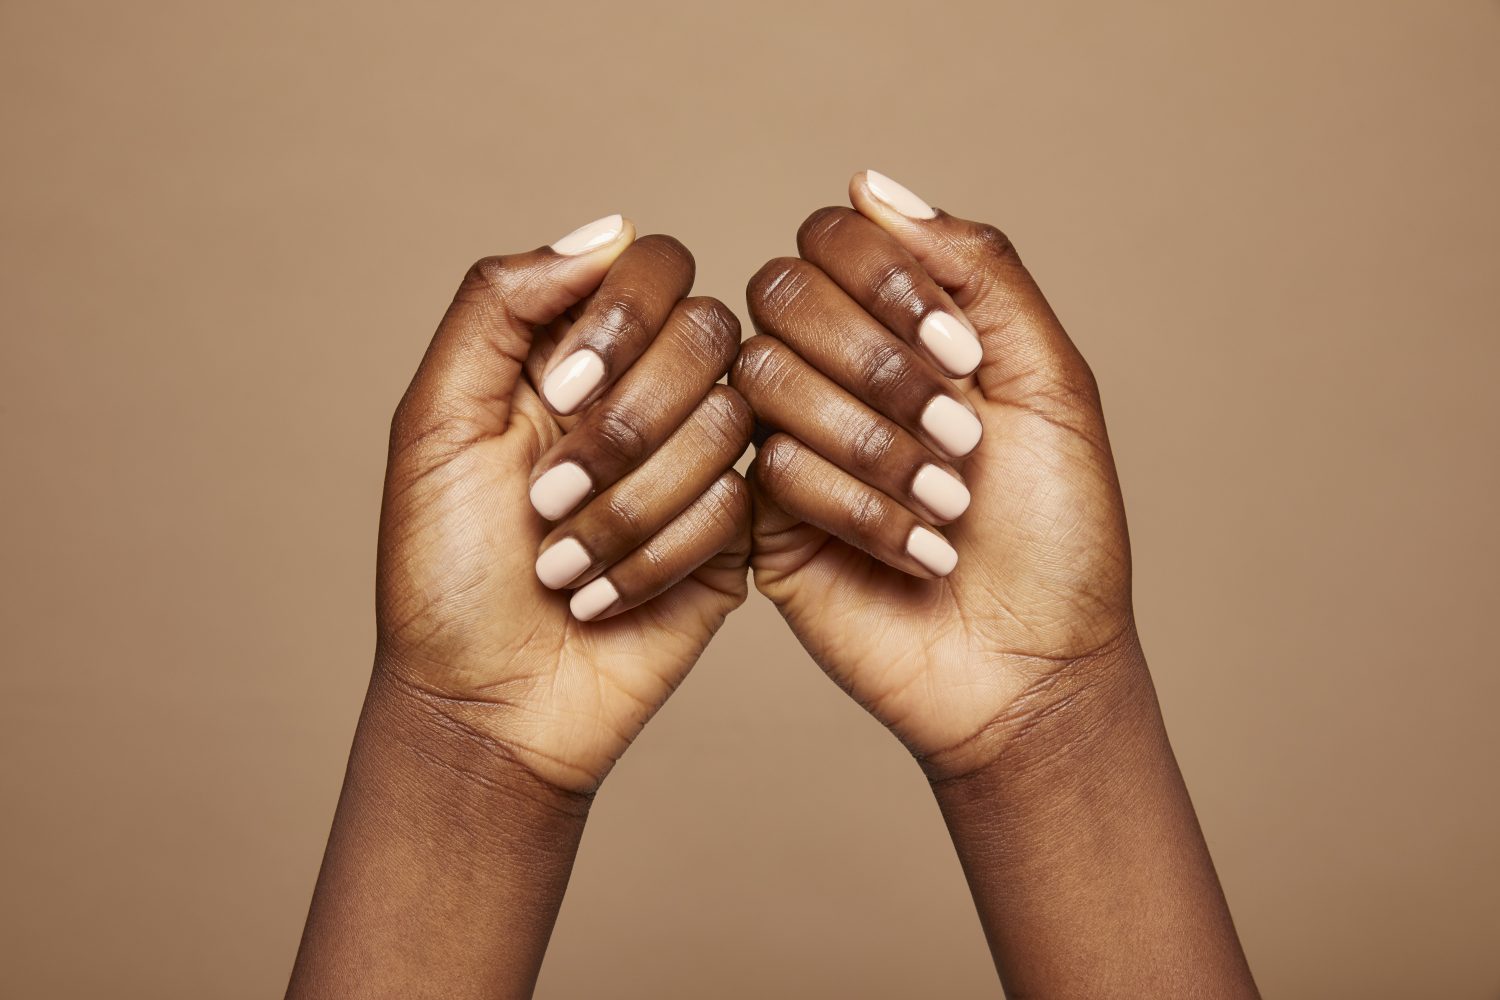
How to do the perfect at-home manicure
We all love getting professional manicures, but there’ll come a time when you can’t get your nails done; whether that’s because you’re trying to save money; you’re too busy or seeing your nail technician is simply not an option. Whatever the reason, being able to do your own manicure is a skill you’ll never lose and all it takes is 8 simple steps.
Here’s what you’ll need:
Nail polish remover
Nail clippers
File Buffer
Manicure sticks or a cuticle pusher
Cuticle remover
Hand lotion
Cuticle oil
Base coat
Your favourite polish
Topcoat
1. Clean your nails
Before you begin, we recommend cleansing your nails to remove any old polish, dirt or oil residue which might affect your polish application. To do this, apply some nail polish remover on a cotton pad and gently wipe your natural nails down…and don’t forget to wash your hands with warm water and soap after!
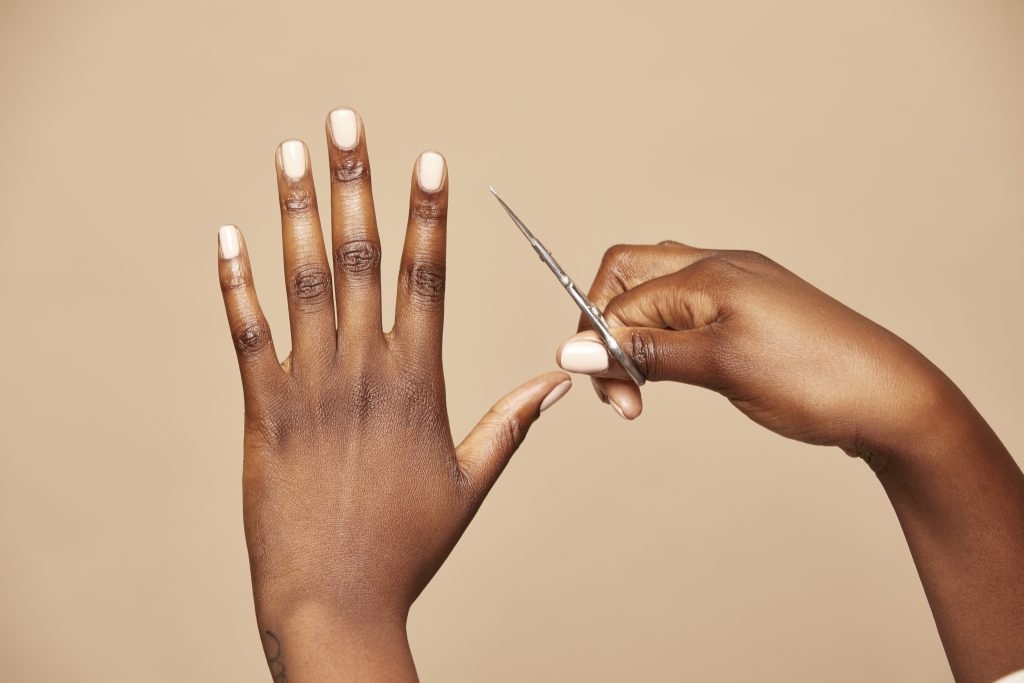
2. Clip, file and buff your nails
If your nails are getting too long, clip them down to your preferred length and gently file them to the shape you want – popular shapes include square, round or stiletto. When it comes to filing, resist filing them in a back and forth motion and, instead, keep it to one direction (especially if you have thin nails). This will reduce the risk of any chipping. Finally, take your buffer and gently buff the top and sides of your nails. This is used to create a smooth surface for your polish application. Trust us, you’ll be able to see the difference.
3. Push back your cuticles
Cleaning up your cuticles is the key to a good manicure. First take your cuticle remover and apply a drop on all your cuticles. This will help soften the area and dissolve any dead skin. Next take your cuticle stick and gently push them back to reveal the nail plate – you’ll notice that this will elongate your nails. When getting your nails done professionally, you might notice that your technician will cut your cuticles – we don’t recommend doing this at home as you can easily cut your skin which will make you prone to nail infections.
4. Wash your hands
Now that you’ve prepped your nails, wash your hands with warm water and soap to get rid of all the oils. If you have any oil residue on your nail plate, it can cause your polish to chip.
5. Apply your base coat
Many people forget to use a base coat when applying polish, but it’s super important. Base coats help protect your natural nail from colour stains, prevent your polish from chipping and create a smoother application for your polish. All you need to do is apply one, thin layer and leave it to dry for a few minutes.
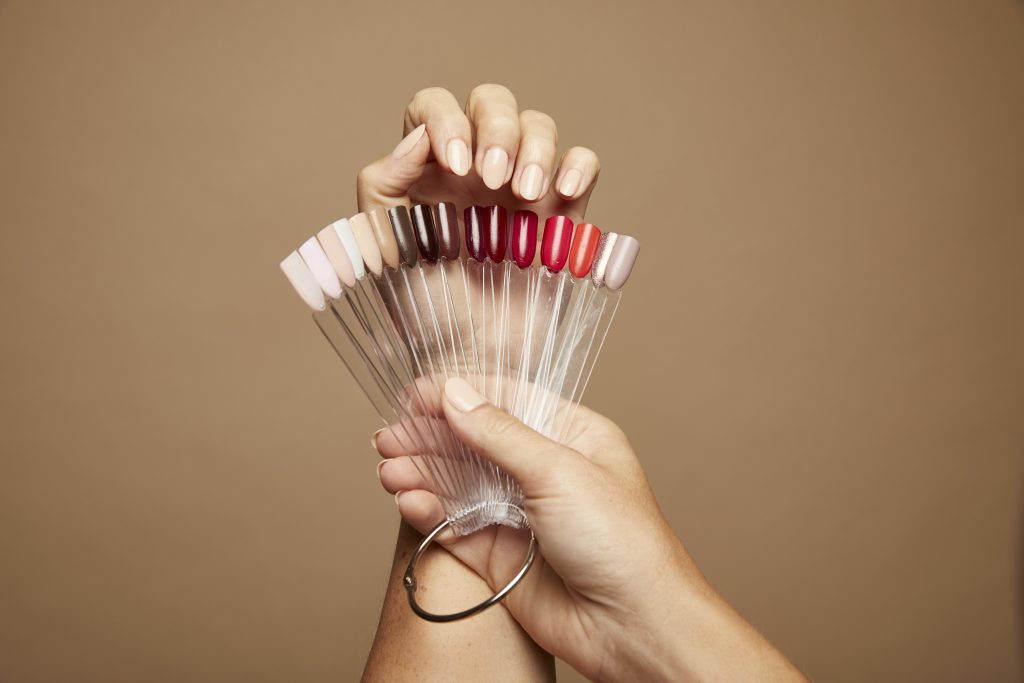
6. Apply two coats of your favourite colour
Now for the fun part! Get your polish and apply two thin coats over the base coat. Avoid applying too much polish on the brush: all you need is enough polish for 3 strokes; one down the middle, one down the left side and one down the right side.
7. Finish with a top coat
Top coats help seal the polish colour and protect your manicure from chipping (as well as adding a lovely shine to your nails). Apply a thin layer of your top coat on each nail every few days to keep your manicure looking fresh and glossy!
8. The finishing touches!
Congrats, you’ve done the hard part! The last thing you need to do to achieve the perfect manicure is apply cuticle oil on all of your cuticles to keep your nails truly nourished. Doing this on a daily basis will ensure your nails are always in the best condition.
And, voilà! There you have it, 8 steps to your perfect DIY manicure. For more tips and advice take a look at the website of our reccomended home salon service.