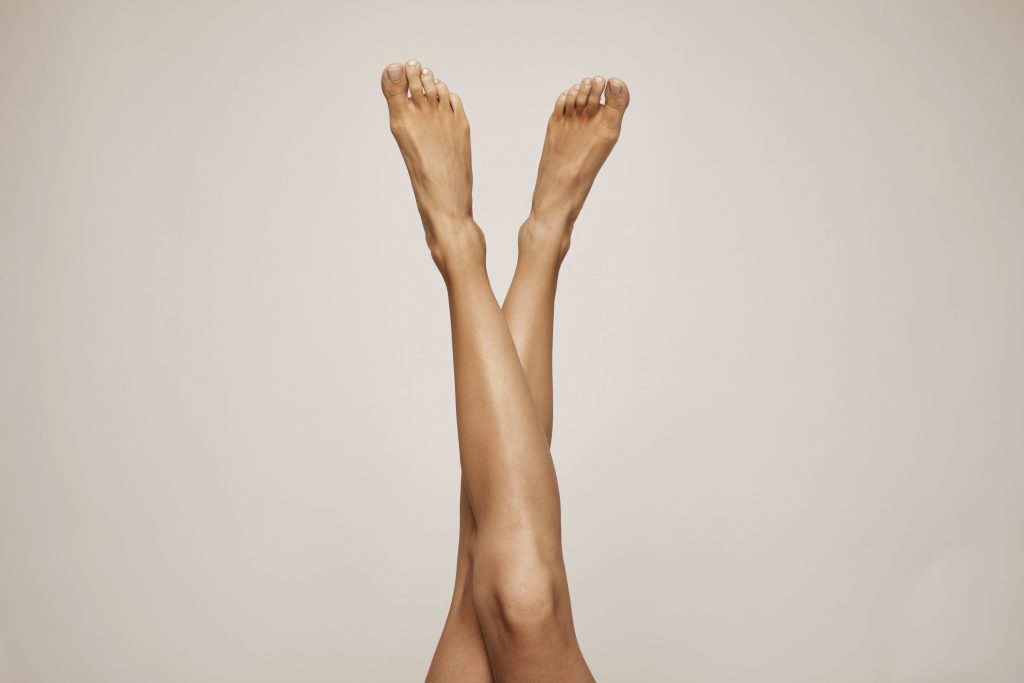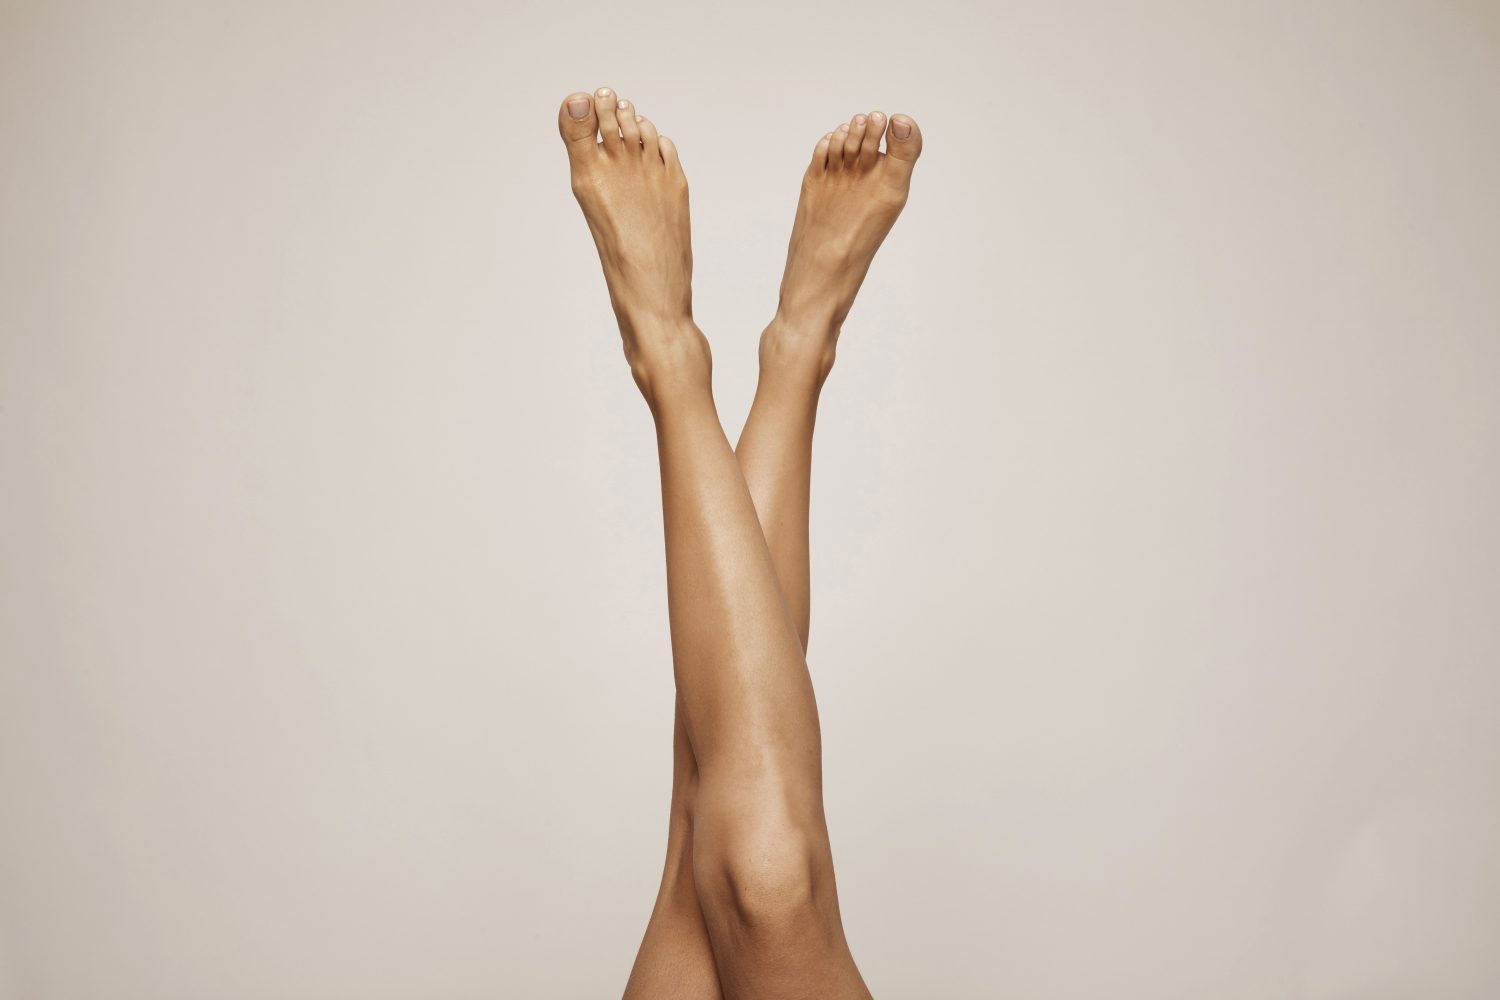
How To Do The Perfect At Home Pedicure
We don’t know about you but staying indoors for weeks without our regular pedicure has led to our feet and toenails looking a bit uncared for. Since we’re unable to go out and book a relaxing pedicure, we have devised an in-depth guide on how to get your feet looking and feeling fabulous, straight in the comfort of your own home.
What you’ll need:
● A clean towel
● Nail polish remover
● Cotton wool
● Soap
● Foot file
● Foot scrub
● Foot lotion
● Nail clippers
● Buffer
● Cuticle oil
● Toe separators
● Base coat
● Your favourite colour
● Top coat
1. Clean your toenails
If you’re anything like us, you probably still have horrible, chipped polish left over from your last pedicure (we don’t judge). Apply some polish remover on some cotton wool and gently rub off any polish or oil residue from your toenails.
2. Soak your feet
Grab a bowl or use your bath and fill it up with some warm water and your favourite soap. If you want to go the extra mile, adding epsom salts can help relieve muscle pain and reduce inflammation. Place your feet in the water and leave them in there for around 10-15 minutes. This will help soften the dead skin and make it easier to remove.
3. Scrub your feet
Now that your feet have soaked, grab your foot scrub and gently rub it in your skin. The scrub will help exfoliate your skin by removing any dead skin cells and hard skin. Using a foot scrub regularly will also help prevent any callus build-up. After, place your feet back in the water, wash the scrub off and dry them with your clean towel. You can use your foot file to tackle specific areas of rough skin, click here to get the best and most efficient one used by professionals.
4. Prep your nails
Now it’s time to move onto your nails. Use your nail clippers and trim your nails to the desired length – make sure you don’t cut the corners of your nails too short as it can make you prone to ingrown nails. Once you’ve taken them down, use the file and smooth the edges to your preferred shape. Resist filing them in a back and forth motion, as it can weaken the nail plate. Instead file in one direction. Finally, use your buffer and gently buff the top and side of your toenails to create a smooth surface for the polish application.
5. Cuticle & foot care
This is often a step that people tend to miss, but it’s vital for your nails’ health. Apply some cuticle remover to each nail and gently push them back with your cuticle pusher and ensure any excess dead skin is removed from your nail bed. Next, take your foot lotion and rub it in your feet to keep them hydrated. If your feet are particularly dry, we recommend applying a foot lotion and then putting on a pair of socks before bed to let it really sink in. After, take a cotton pad with some polish remover and wipe it over each nail to take off any oils that might prevent your polish from setting properly.
6. Apply your base coat
First things first, get those toe separators on to prevent any polish going all over your toes. Now take your base coat and apply a thin layer on each nail. Base coats help keep your nails safe by preventing any colour stain, chipping and peeling.
7. Apply two coats of polish
Take your polish, start from the bottom and apply thin, even layers: one down the middle, one down the left side and one down the right. Avoid flooding the brush with polish: a small amount goes a long way. Wait a few minutes to let them dry and apply your second coat for seamless coverage.
8. Apply a top coat
To finish your toenails off, apply a thin layer of your top coat. This helps prevent your polish from chipping and gives it that salon-worthy shine!
And, voilà! There you have it, 8 steps to your perfect DIY pedicure. For more tips and advice take a look at the website of our recommended home salon service.